
Set a visual starting point
The range, sink, window, feature wall, or longest cabinet run may deserve the strongest centered layout. Starting from an arbitrary corner can create small, distracting cuts in the focal area.
A backsplash connects the cabinets, countertop, walls, outlets, windows, hood, and appliances. The tile choice matters, but layout decisions—where full pieces begin, how corners turn, how edges stop, and how cuts land—determine whether the finished surface looks planned.
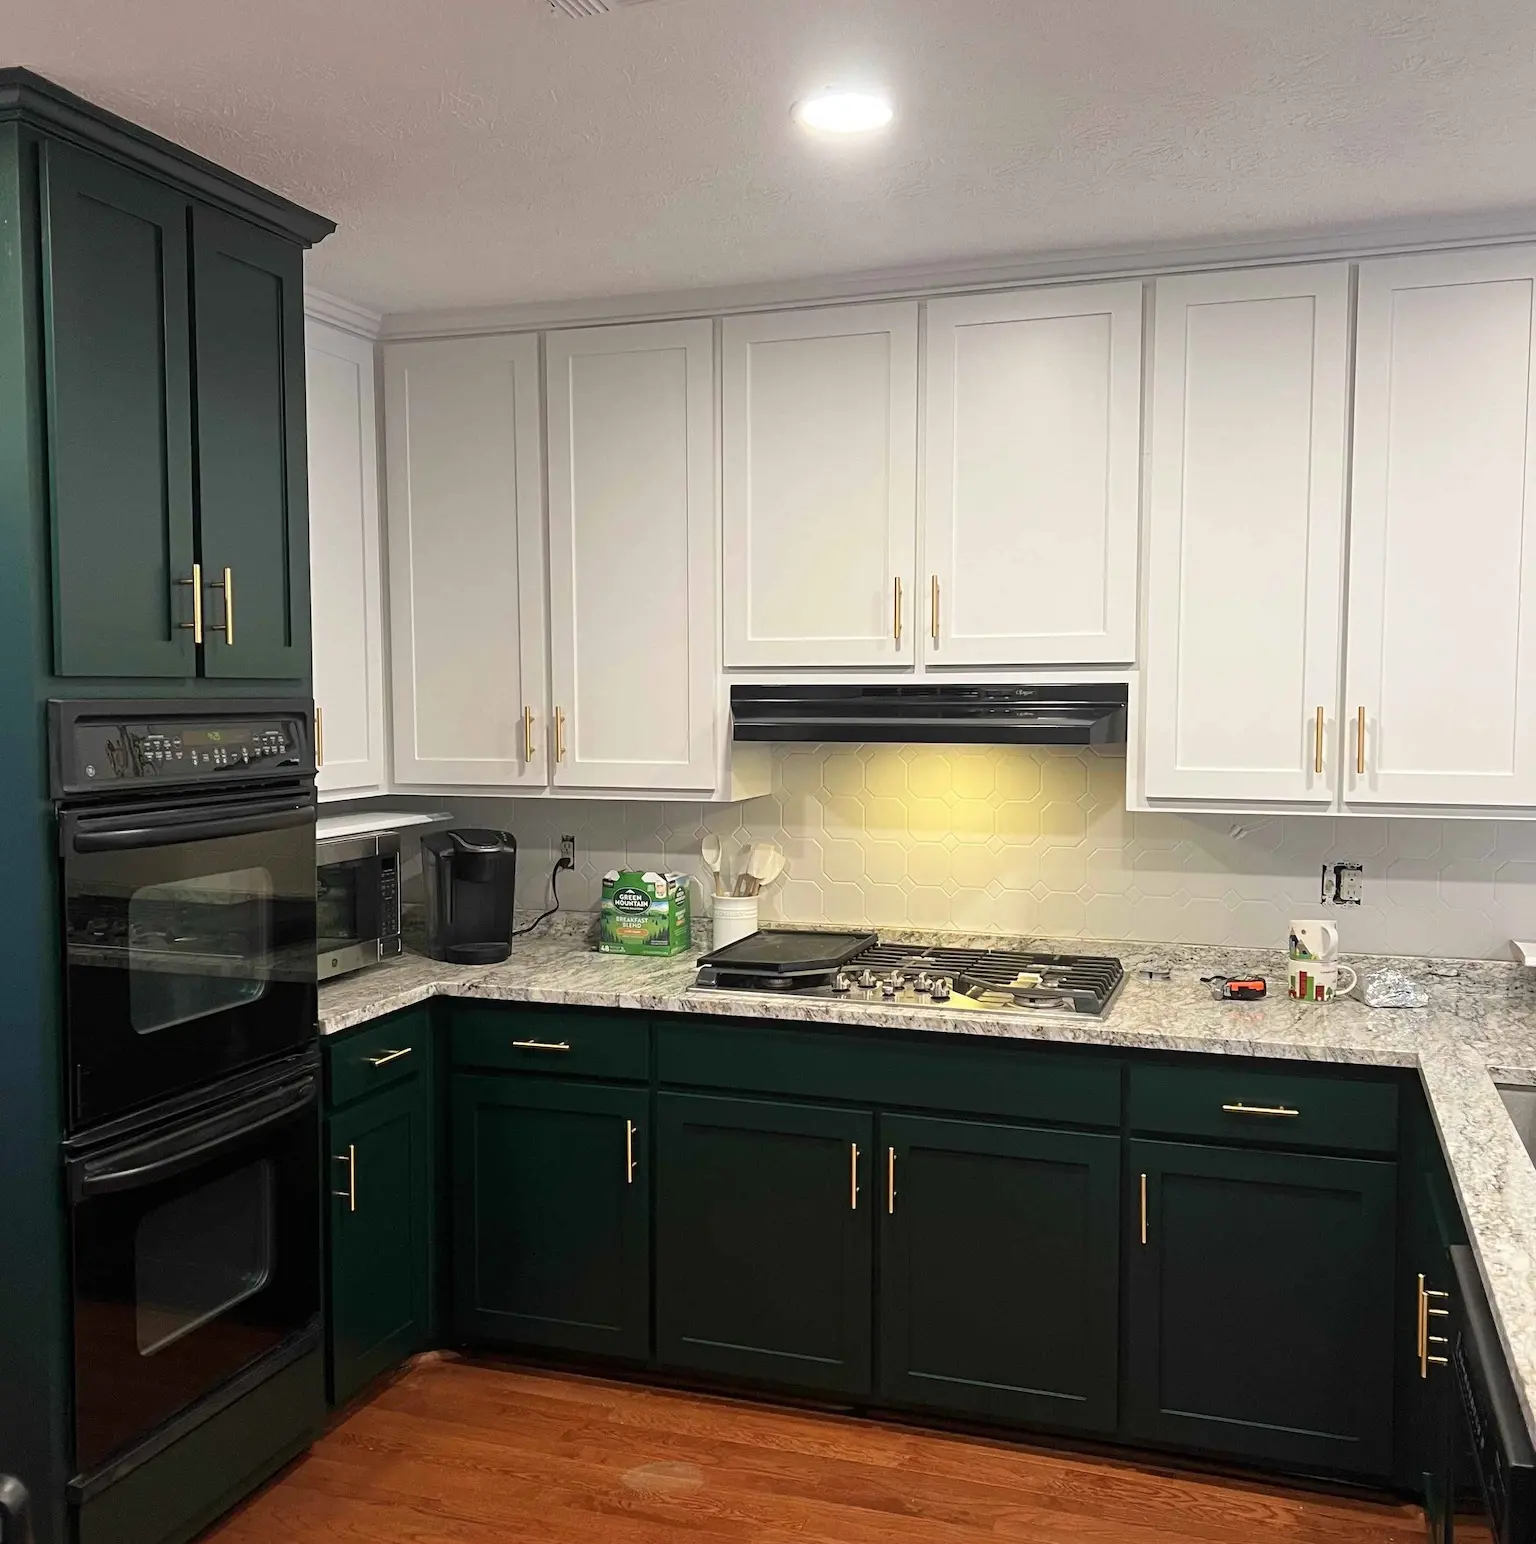
Backsplash installation is a strong update after new counters, cabinet refinishing, refacing, or a remodel when the walls are ready and the material can be laid out around the room’s actual openings.
A remodel should correct the daily frustrations first. Layout, storage, clearances, lighting, ventilation, plumbing, and access influence the result long before tile, paint, or hardware is chosen.
The range, sink, window, feature wall, or longest cabinet run may deserve the strongest centered layout. Starting from an arbitrary corner can create small, distracting cuts in the focal area.
Bullnose, metal trim, mitered edges, pencil trim, caulk, or a deliberate tile stop should be selected wherever the backsplash ends without a cabinet or wall return.
Device locations, cover-plate size, box depth, tile thickness, and pattern influence the cuts. Relocation is separate electrical work unless included.
Short splash, full-height tile, cabinet bottoms, range hoods, windowsills, open shelves, and counter splashes need one clear set of termination points.
Tile size, pattern, color variation, grout, sheen, and edge treatment should be considered beside the cabinet finish and countertop sample.
Use subway or rectangular tile in a straightforward pattern with careful centering, consistent joints, and planned edge pieces.
Create a cleaner vertical or horizontal grid, herringbone, mosaic, or another pattern that requires additional layout and cut planning.
Carry tile to the hood, ceiling, shelves, or another defined point where the architecture supports a stronger focal surface.
Protect and finish walls behind kitchen counters, bathroom vanities, laundry sinks, bars, and built-in work areas.
Remodeling touches several surfaces and trades. A useful proposal separates demolition, cabinetry, counters, tile, plumbing, electrical, trim, painting, fixtures, disposal, and owner-supplied items so responsibilities stay clear.
Tile, trim, grout, and setting-material responsibility. Wall preparation and repair.
Removal and disposal of old backsplash. Layout, pattern, centering, and joint size.
Outlet, switch, window, shelf, and hood cuts. Exposed-edge treatment and inside corners.
Caulk, grout sealing, and final cleaning. Electrical, cabinet, countertop, and paint exclusions.
The order matters. Measurements, selections, demolition, rough work, installation, and finish work have to support one another so newly completed surfaces are not damaged or forced to compensate for unresolved decisions.
We discuss what is difficult about the current room, what must stay, what should move, and which improvements matter most to the household.
Walls, openings, plumbing, electrical locations, appliance or fixture information, ventilation, floor conditions, and access are reviewed before the scope is finalized.
Cabinetry, storage, counters, backsplash or tile, fixtures, hardware, lighting, and finish choices are coordinated so the dimensions and visual details agree.
Demolition and required rough work come before finish materials. Cabinetry, surfaces, fixtures, trim, and touch-ups are sequenced to protect completed work.
The finished room is checked against the proposal, included selections, and agreed changes. Adjustments and final details are handled before the project is considered complete.
Price changes with the area, tile size and pattern, number of cuts, wall condition, demolition, trim, grout, height, and the complexity around outlets, windows, and cabinets.
Your estimate will identify the work, materials, selections, allowances, exclusions, and responsibilities included in the price. Requested changes are discussed before additional work moves forward.
Canton projects range from updates in established homes near Downtown and the Etowah River to larger room changes in newer communities near Laurel Canyon, Great Sky, Prominence Point, and the I-575 corridor. The right plan depends on the actual structure and the homeowner’s priorities, not the neighborhood name.
Permit and inspection requirements can depend on the work and whether the property falls under the City of Canton or Cherokee County. We identify the project address early so the written scope can account for applicable approvals and trade coordination without making assumptions.
Tile and grout should be selected beside the final cabinet color and counter sample so warm or cool undertones do not surprise the homeowner after installation.
The final gap, counter level, existing drywall damage, and short-splash removal are reviewed once the new top is installed and before the tile layout is locked.
Outlet changes, hood work, open shelves, window trim, lighting, and wall repairs should be sequenced before the backsplash so the new tile is not cut or disturbed later.
Send the project address or ZIP code so we can confirm service, travel, measurement needs, delivery, installation, and scheduling for the specific work. You can also review our complete service area or explore the Jasper service pages.
Removal can be included. The amount of drywall damage cannot always be known until the old tile or panels are removed, so repair expectations should be stated in the proposal.
That depends on the wall, hood, windows, shelves, and design. Full-height tile can look strong in a focal area, while a defined stop may be better on other walls.
Electrical relocation or box correction is separate work unless listed. Tile installers can cut around properly placed devices, but electrical changes should be completed by the responsible trade.
Often, if the wall is sound, clean, flat, and suitable for the selected setting material. Glossy, damaged, contaminated, or uneven surfaces may need preparation.
Compare the grout with the tile, cabinet finish, counter, and desired pattern emphasis. A contrasting grout highlights every joint and cut; a closer color creates a quieter field.
Yes. The same planning applies to vanity walls, laundry sinks, bars, and other work surfaces, with material and moisture exposure considered for the location.
Send photos and a few details. We will review the project and contact you to discuss the options, timing, and next step.